
Blitz
Advanced Map TIps
Map Focused Loadouts
Prebrief
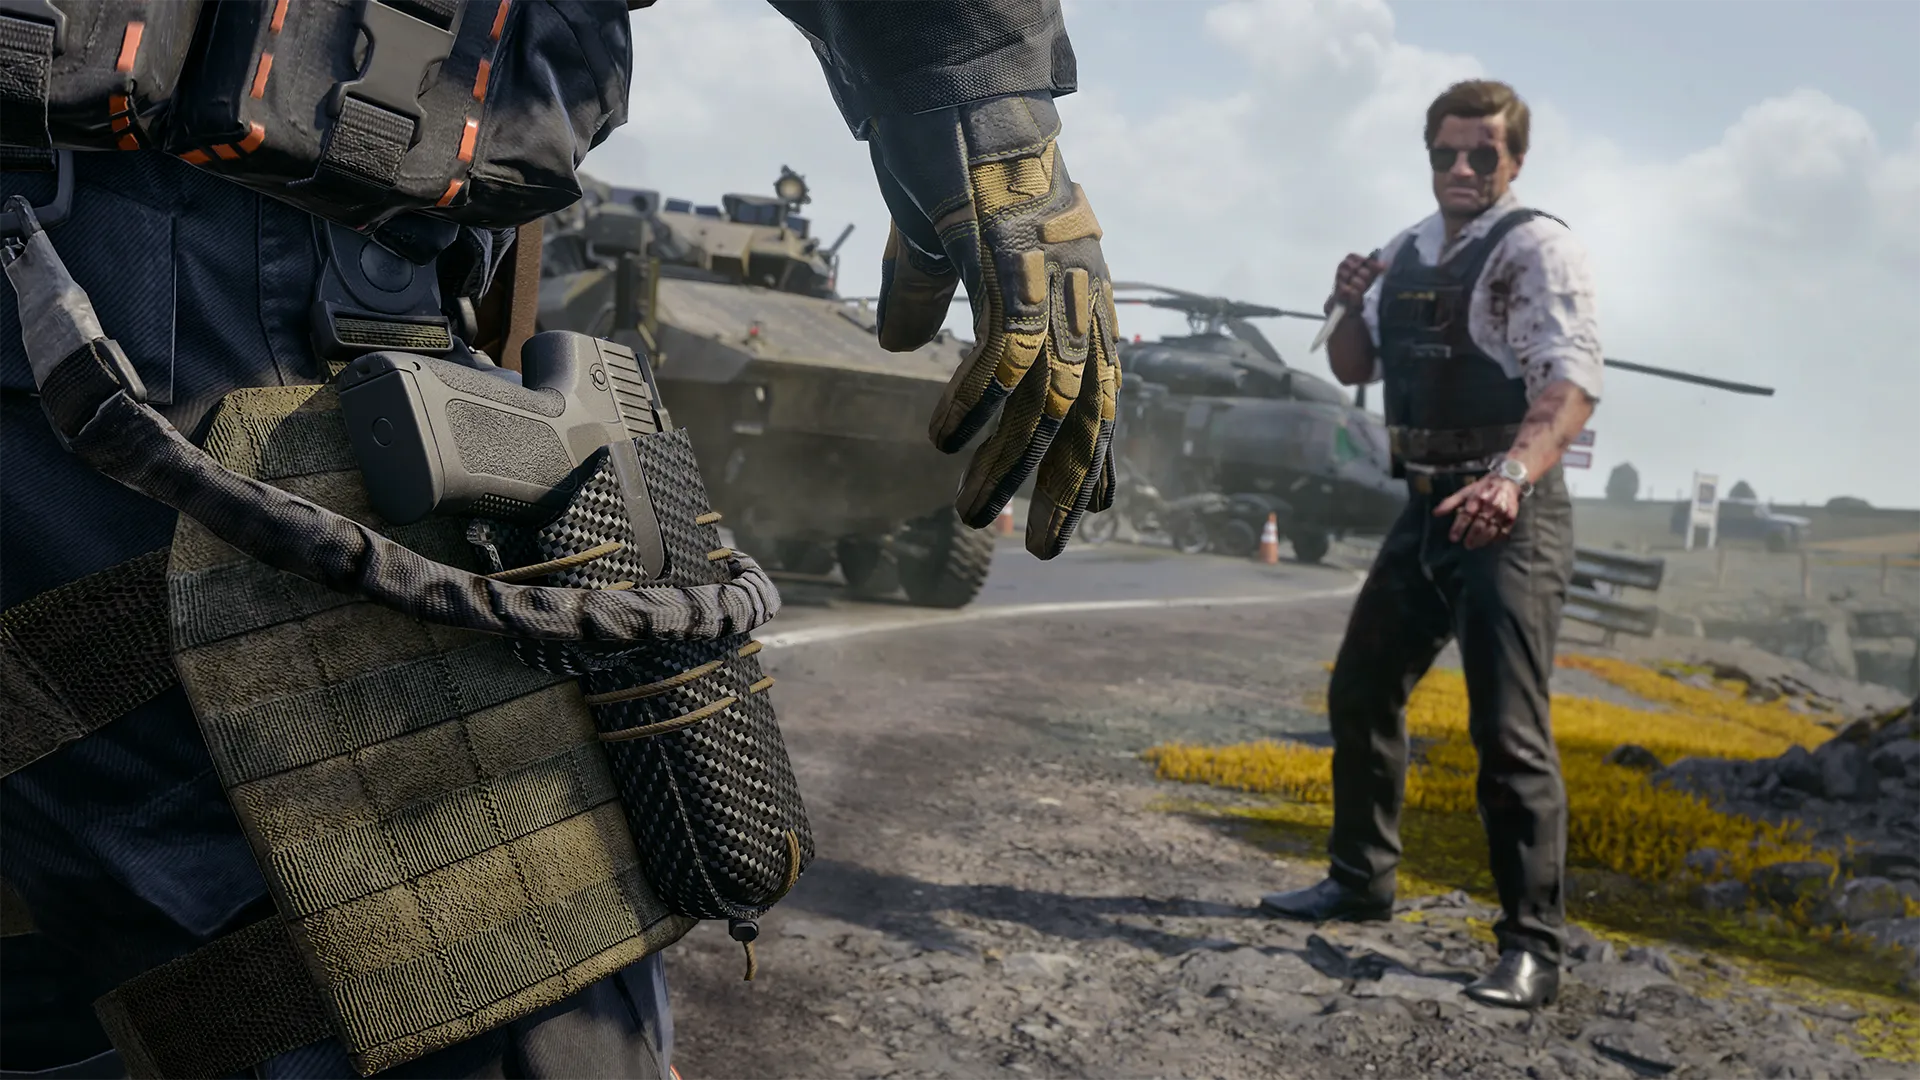
Pantheon’s rapid response convoy races toward the Icelandic prison and gets ambushed by the Rogue team. Leave the road and seek out targets over the rugged and icy terrain of the Cliffside or move inland, ambushing enemy Operators at the Waterfall. To approach the battle head on, move down the central Bridge, using the scattered convoy for cover. Jump down from the center to move underneath the Bridge and pivot to a new location. Though a small map overall, Blitz’s long lanes leave room for marksmen to shine.


-
Show areas

-
Show domination flags

-
Show spawn points

-
Reset all overlays

POI Overview
Explore the following points of interest based on key areas around Blitz. Click “Learn More” at the bottom of each image for additional tips and insights on the POI.

Main Spawn Point: Tanks (South)
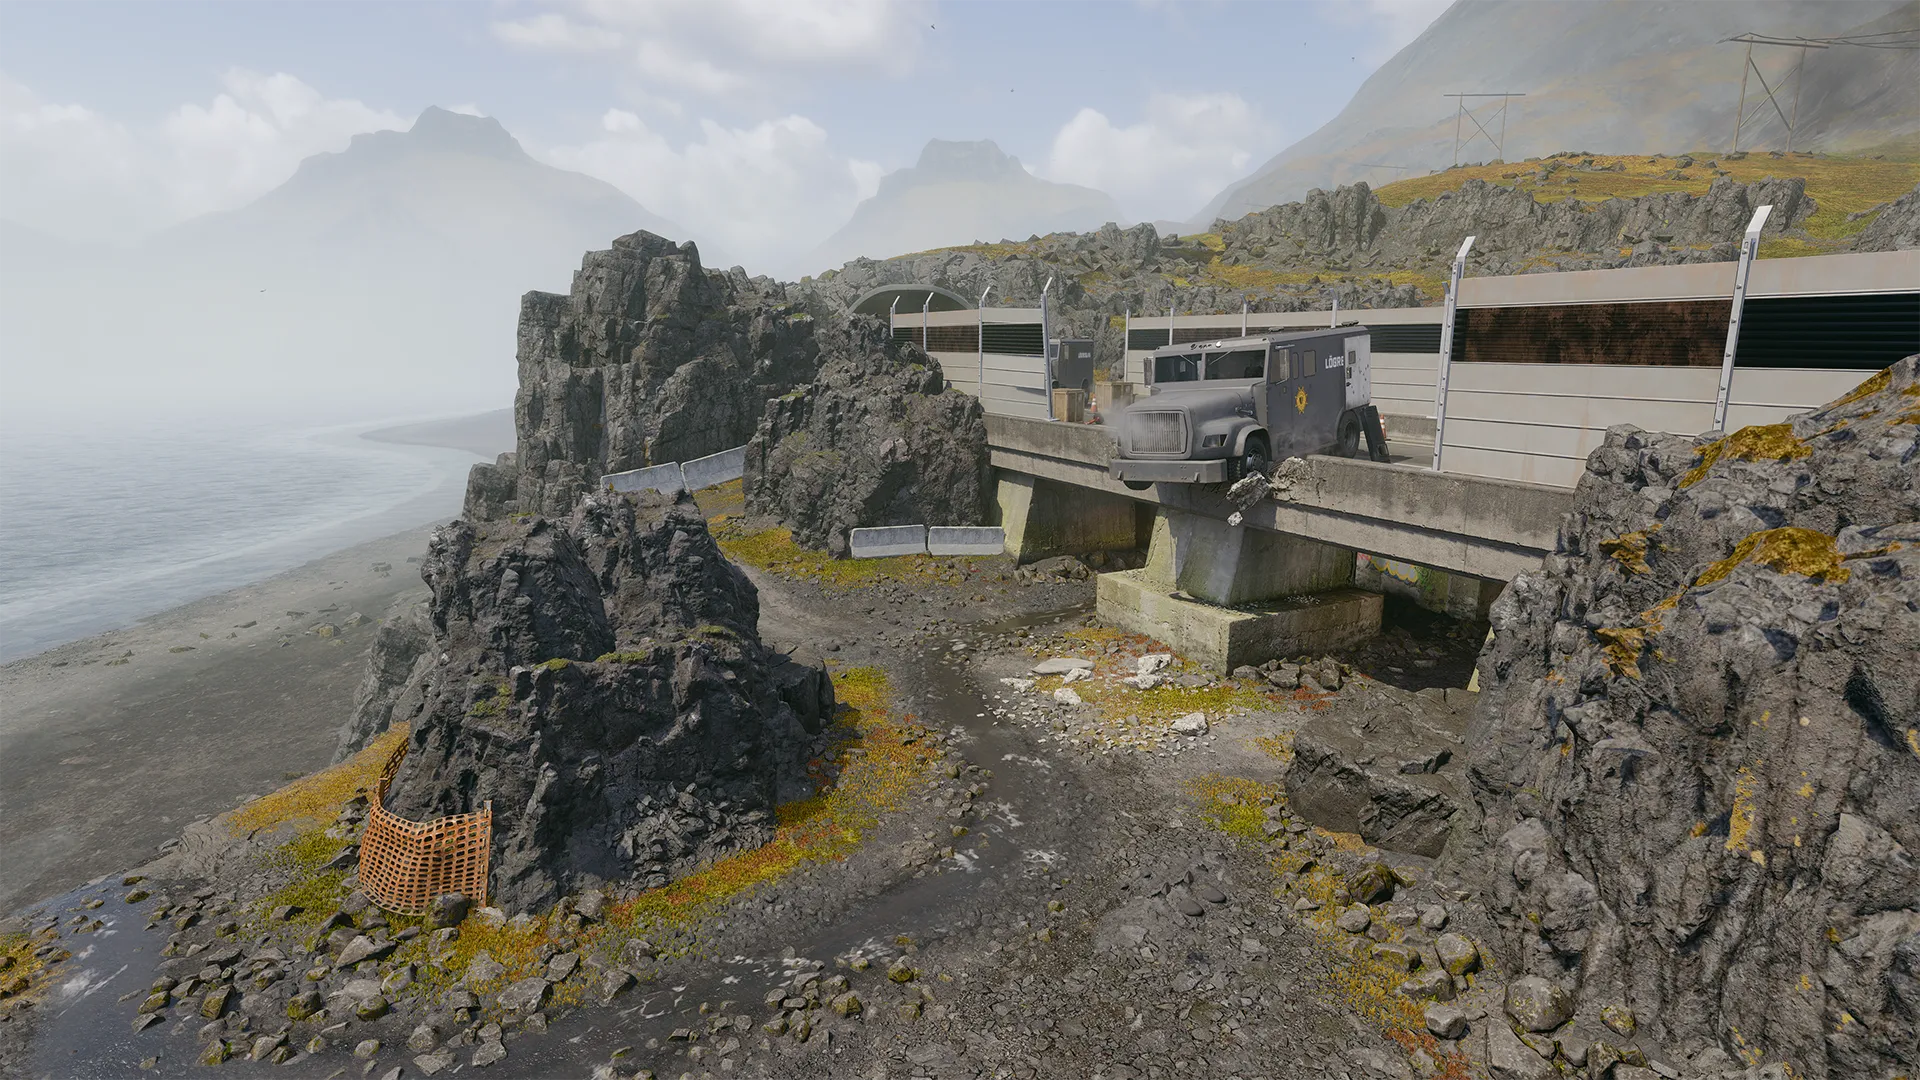
The Tanks area offers a decisive path to take the fight straight to the enemy or attempt a daring escape on either side of the bridge. There are two ways to take to the Cliffside: a quick northern route toward the center of the map or a southern path that provides a wider view toward the enemy spawn. Alternatively, Operators can take the eastern route and engage in CQC with the opposition.


// INTEL CARD
- BO6
Blitz
// MULTIPLAYER MAPS // STRIKE

Quick peek: Outmaneuvering the enemy and finding a new angle your opponent doesn’t expect is always an option on Blitz. The map provides options in almost every situation that you can use to keep your enemy guessing. Move to the Bridge and look toward the Waterfall, or head to the Cliffside and down to the Culvert to slide under the enemy’s POV.
Stick and move: As with most Strike maps, the strategy of securing your elimination and quickly moving to a new location holds especially true on Blitz. If you show up on the radar or an enemy catches a glimpse of your tracers, you’ll want to quickly move from that location and check your six.
Full cover: Don’t get caught out in the open on Blitz. There is plenty of tall terrain and large vehicles that are great for full cover or even just enough to peek over the top for a sneaky pot shot.
Advanced Map Tips
Power Option — Alpha (A)
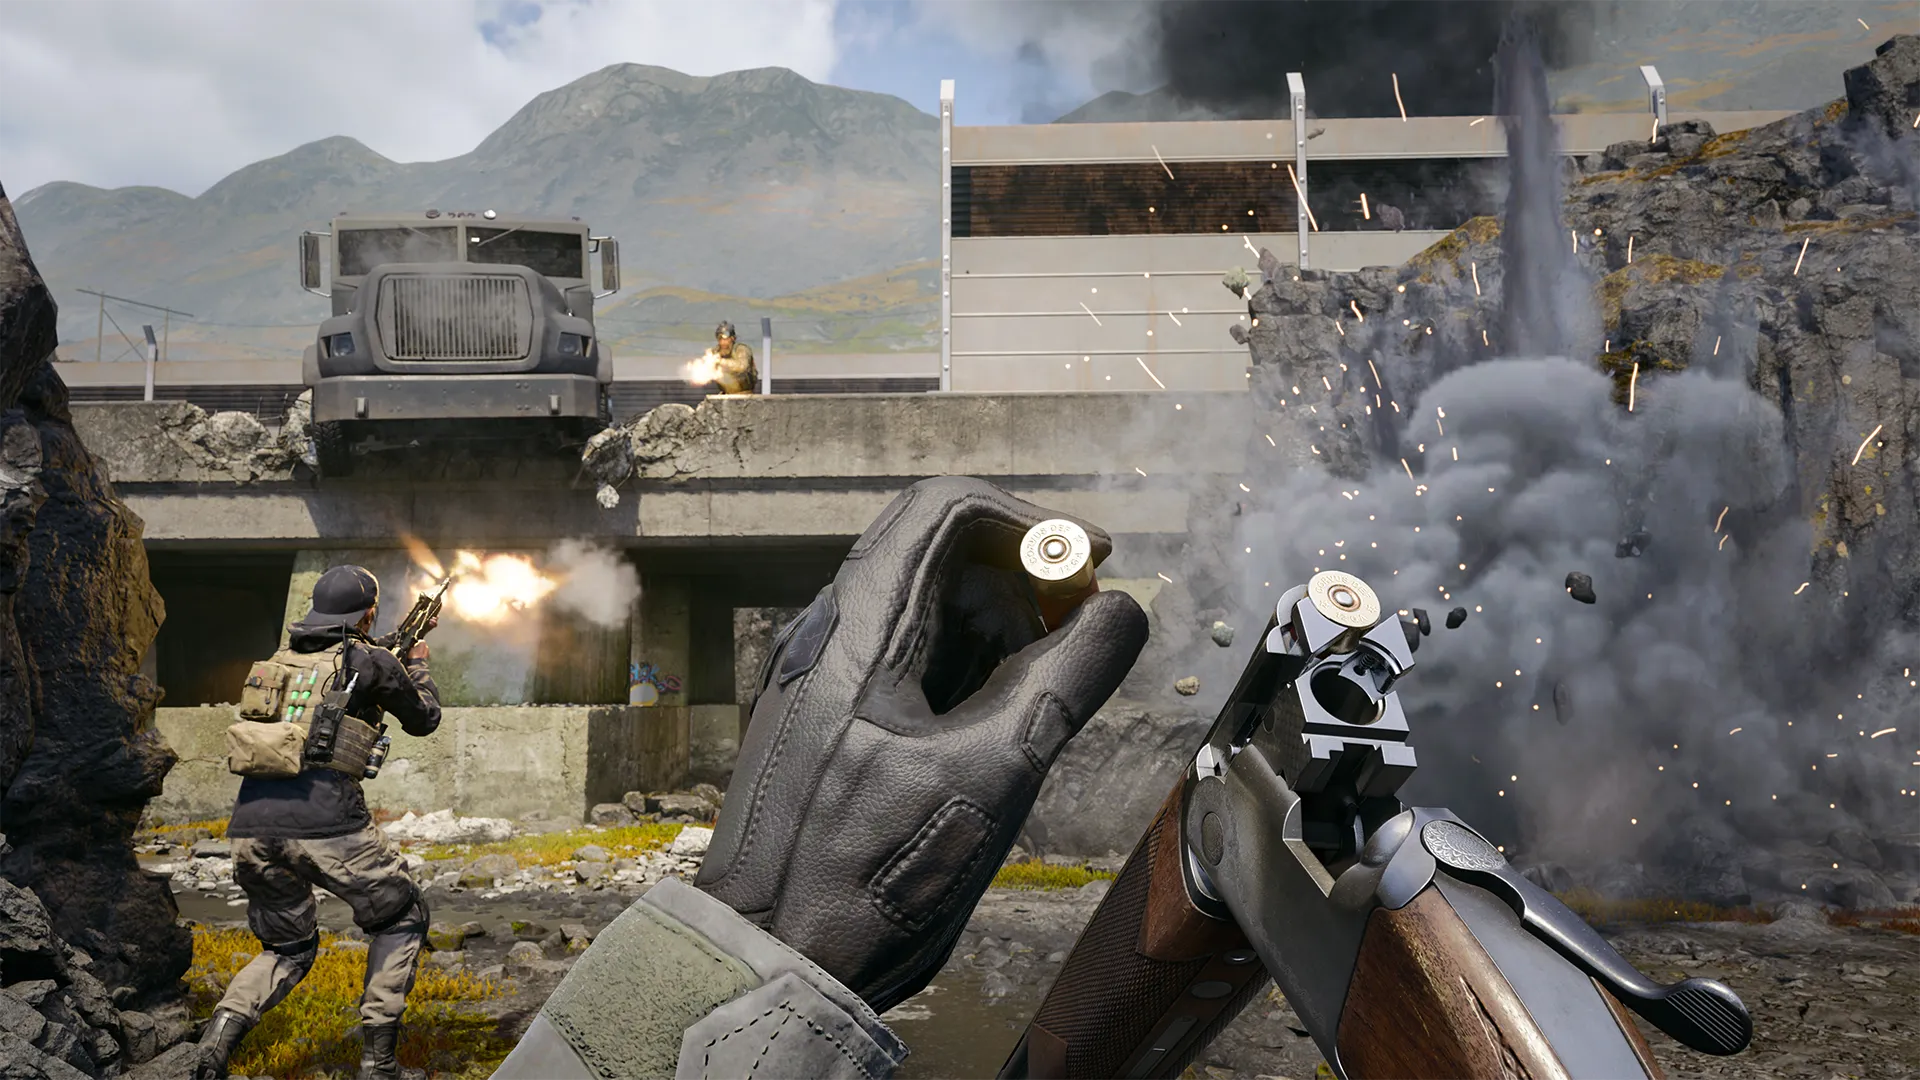
No matter which side you start on, the Bridge can be a power position. Whether you’re using it to gain a height advantage over the Cliffside or to get an unexpected angle on Operators through the Culvert, you’ll have multiple options at your fingertips. The tricky part is holding the position for any extended amount of time, but if you’re working with your team to secure it, you can gain the advantage.
Move to the truck in the center and look down and back at any enemy players attempting to attack your original spawn. If you don’t move too far past the center vehicle, you can expect to see enemies running straight at you. Use the vehicle as cover and try setting down a Trophy System for extra protection.
360 Cover — Beta (B)
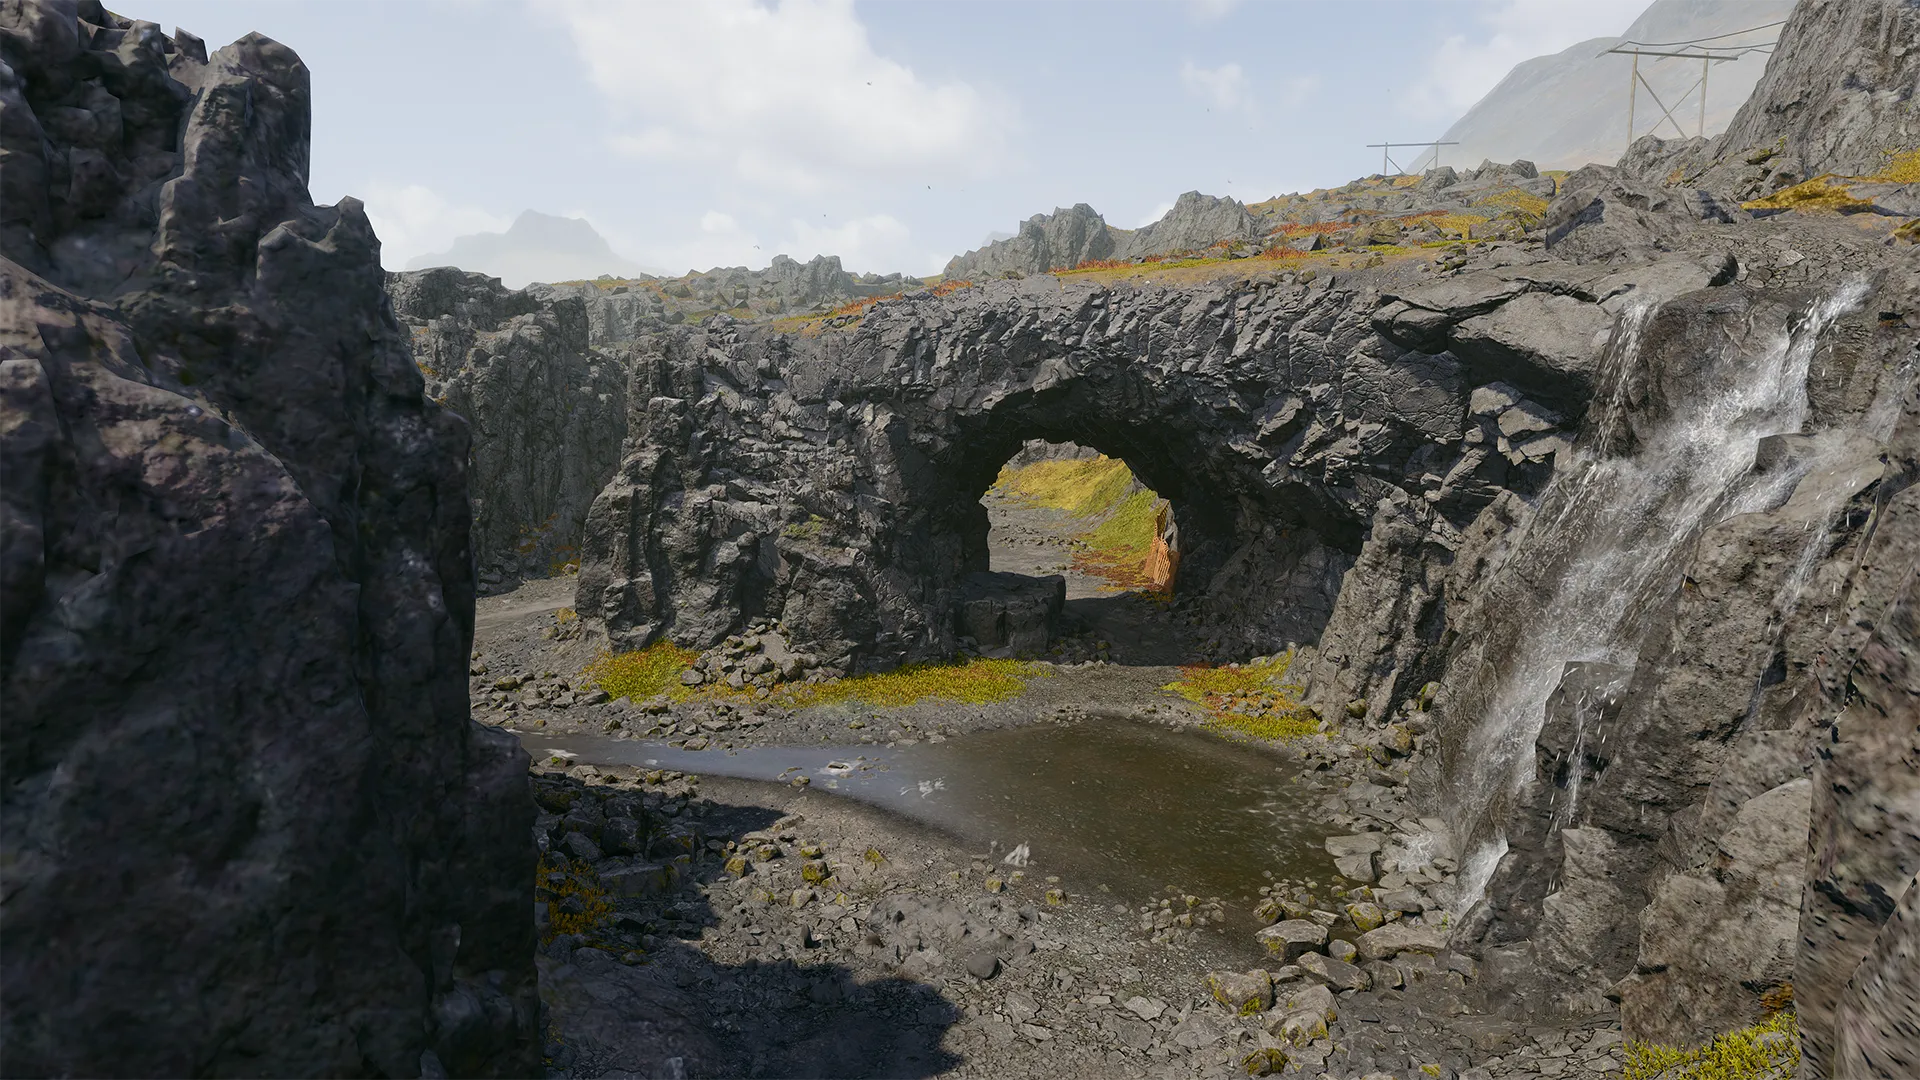
The Waterfall is at a lower elevation than most of the map, yet it remains a powerful position due to its large grotto-like rock formation. Depending on where you predict the enemy will come from, the Waterfall provides plenty of hard cover. Use the rock formation to circle-strafe and keep yourself protected from the most dangerous angles while you watch for flanking enemies.
Map Focused Loadouts
Get your numbers straight and stay on mission with these suggested Loadouts built for success on Blitz.
Blitz Baller
SMG, Enforcer Combat Specialty

Blitz can be played with a high-octane mentality. Whether that’s moving around to get the flank on the enemy or by thinking quickly on how to stay ahead of your opponent’s movement. The Blitz Baller Loadout allows you to be in many places without breaking too much sweat. Get an elimination, then move on to the next. Utilize the LC10’s lightweight SMG class to get from point to point while keeping out of the enemy’s line of sight and hit them before they even know to turn around.
Radical Rain
LMG, Recon Combat Specialty
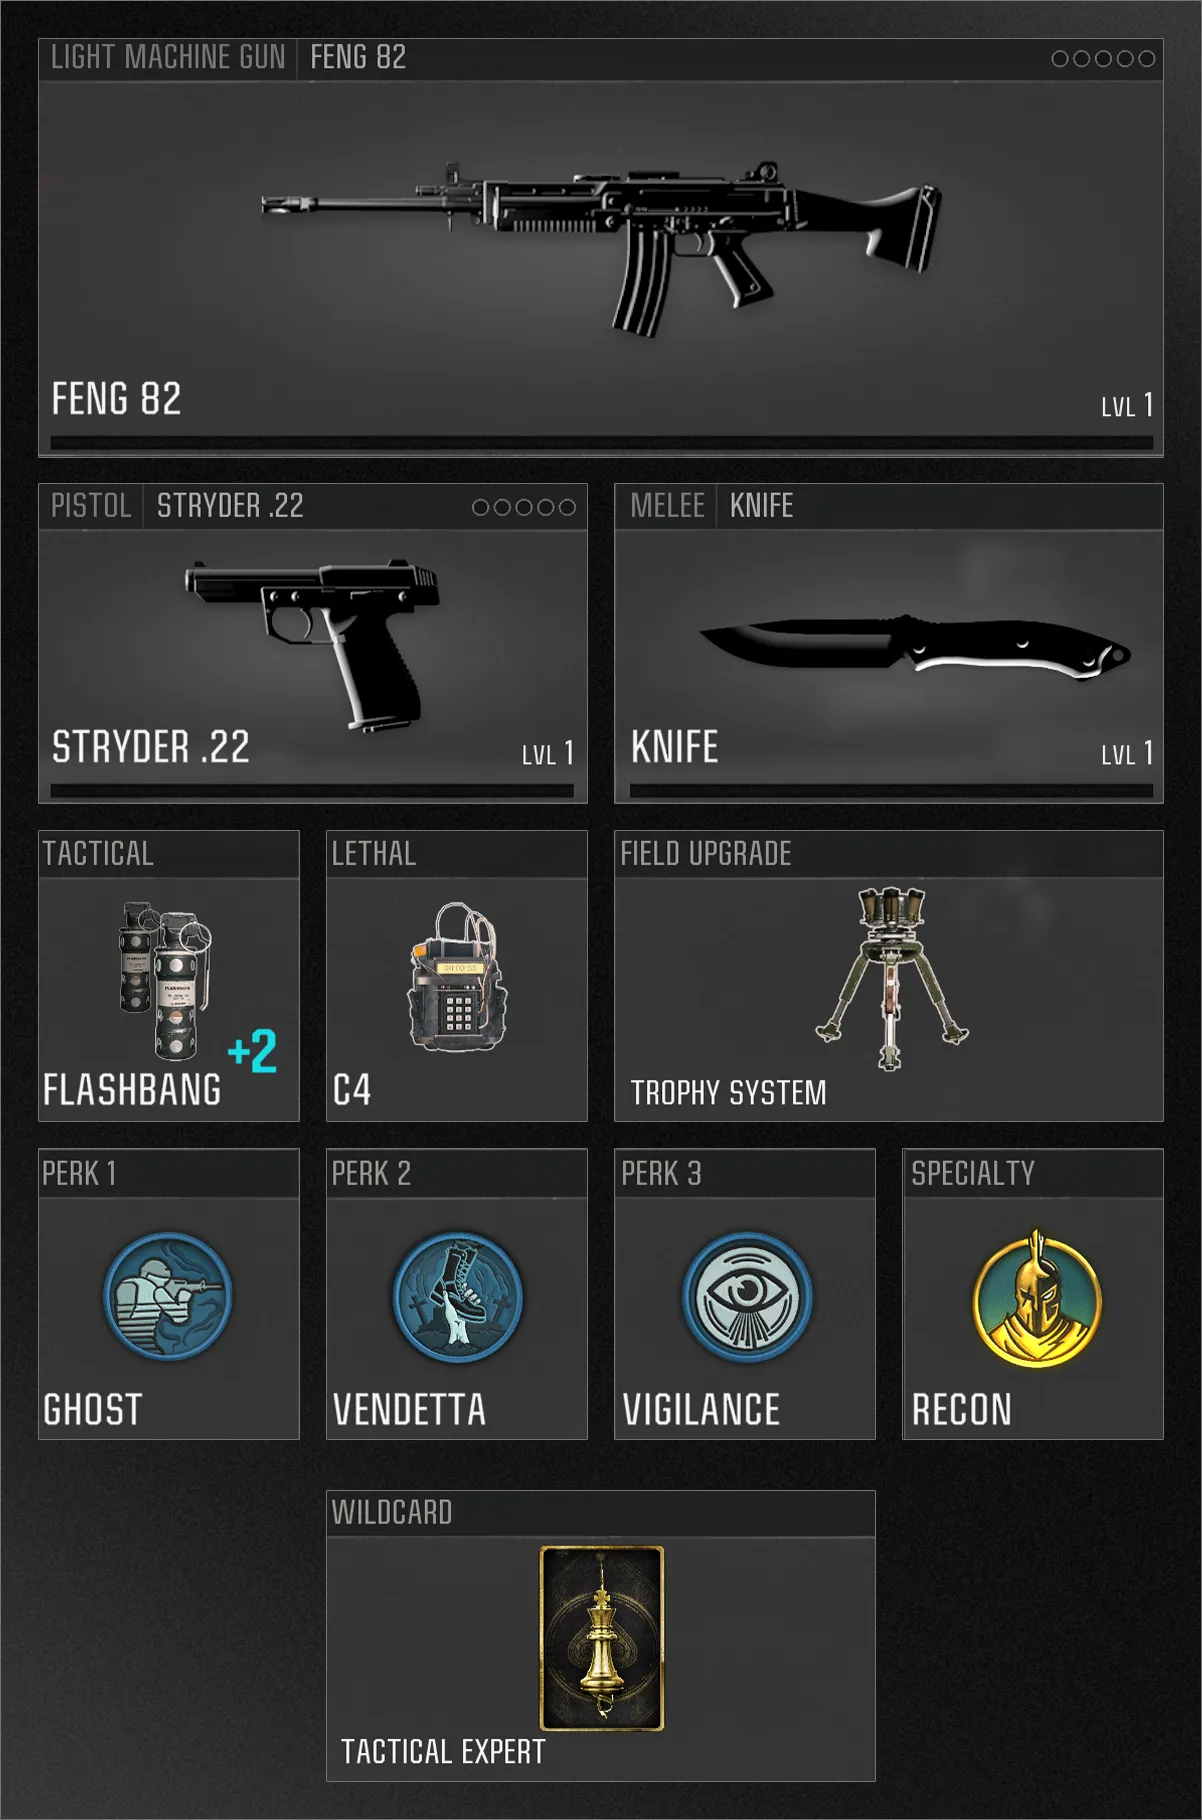
Make it rain carnage before the Flashbang effect has time to wear off. The Feng 82 is a heavy hitting LMG with a nice selection of attachments that can keep you moving forward. Because of the open sky, you can rain down Flashbangs in the general area and get to a firing angle while the enemy is still unable to see where you’re coming from.
Cliffside Marksman
Marksman Rifle
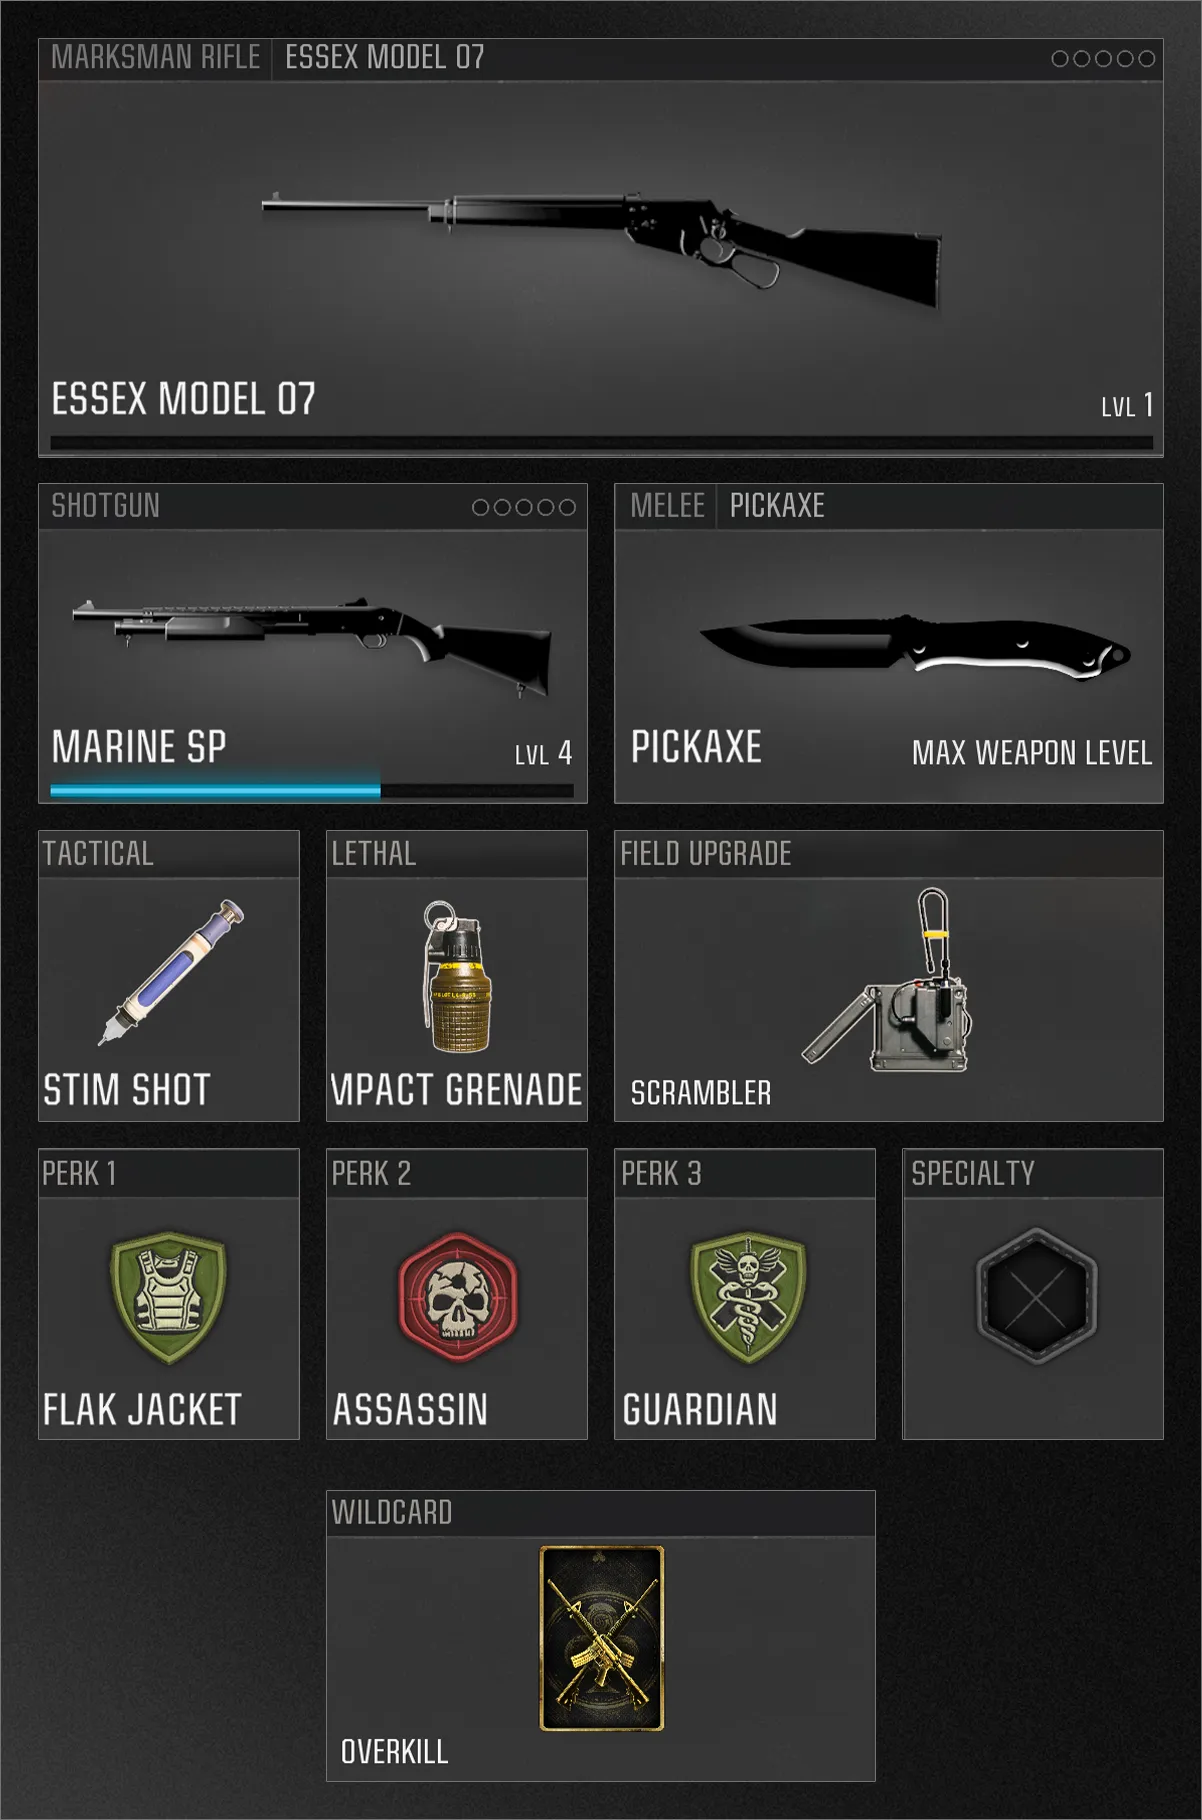
You don’t have to move quickly to think quickly. A large part of being effective on Blitz is knowing where the enemy is going to be. Be prepared for the enemy around the corner, either from a distance or from up close. If you take damage from the charging enemy, you’ll have your Stim Shot at the ready to get you back to full in no time.
© 2025 Activision Publishing, Inc. ACTIVISION, CALL OF DUTY, and CALL OF DUTY BLACK OPS are trademarks of Activision Publishing, Inc. All other trademarks and trade names are the property of their respective owners.
For more information, please visit www.callofduty.com and www.youtube.com/callofduty, and follow @Activision and @CallofDuty on X, Instagram, and Facebook. For Call of Duty Updates, follow @CODUpdates on X.
